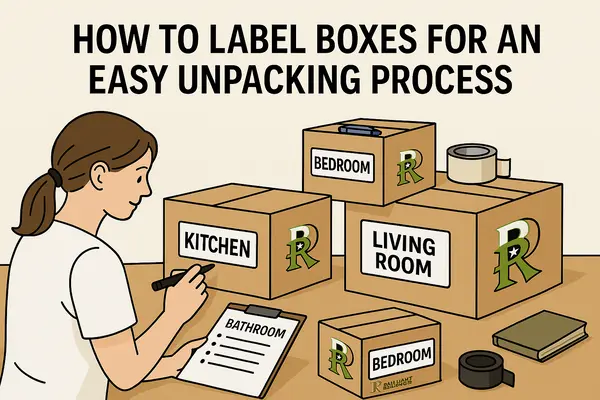
How to Label Boxes for an Easy Unpacking Process
When preparing for a house move, packing might take most of your energy — but labelling boxes properly is what makes unpacking stress-free. Without an organised system, even the most efficiently packed boxes can lead to chaos at your new home.
This guide explains how to label boxes for an easy unpacking process, with step-by-step instructions, examples, and printable ideas to simplify your moving day.
Why Labelling Matters
A proper labelling system helps:
- Movers place boxes in the correct rooms
- You find essentials quickly
- Avoid damage to fragile items
- Save time and confusion during unpacking
Imagine needing your kettle after a long moving day — if every box says “Kitchen,” you’ll waste hours searching!
Basic Labelling Rules for Moving Boxes
Before exploring advanced techniques, get the basics right.
| Label Element | Purpose | Example |
| Room Name | Helps movers know where to place it | “Kitchen”, “Bedroom 2” |
| Contents Description | Identifies what’s inside | “Plates & Glasses”, “Books” |
| Fragility Warning | Prevents breakage during handling | “Fragile – Handle with Care” |
| Priority Level | Indicates urgency during unpacking | “Open First”, “Storage” |
| Box Number / Count | Tracks all boxes | “Box 7 of 20” |
Use a Colour-Coding System
Colour-coding is one of the easiest and most effective ways to label boxes for moving.
Assign a colour to each room, and mark boxes with stickers, coloured tape, or marker pens.
| Room | Colour Code | Label Example |
| Kitchen | Red | Kitchen – Utensils |
| Living Room | Blue | Living Room – Décor |
| Bedroom 1 | Green | Bedroom 1 – Clothes |
| Bathroom | Yellow | Bathroom – Towels |
| Garage/Storage | Orange | Garage – Tools |
Tip: Stick matching colour labels on the doors of each room at your new home. Movers can instantly identify where each box belongs.
Label Boxes on Multiple Sides
When stacking boxes in a van or a storage unit, labels often get hidden.
Always label at least two adjacent sides and the top of each box.
This ensures visibility from any angle and saves time when unloading.
Create an Inventory List
A detailed inventory list helps you keep track of all boxes and their contents.
You can maintain it on paper or digitally (Google Sheets or Excel).
Example Inventory Table:
| Box No. | Room | Contents | Priority | Notes |
| 1 | Kitchen | Plates & Glasses | High | Fragile – Top load only |
| 2 | Bedroom | Winter Clothes | Low | For storage |
| 3 | Bathroom | Toiletries & Towels | Medium | Open on arrival |
| 4 | Living Room | Cables & Remotes | High | Keep with electronics |
You can even share this sheet with your moving company (like Brilliant Removals) to help them handle your items more efficiently.
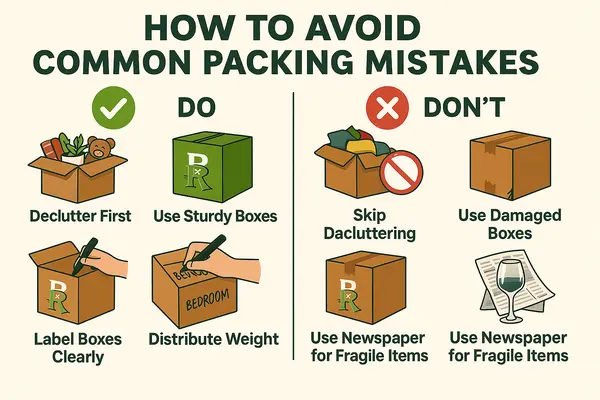
Mark Fragile and Heavy Boxes Clearly
Use large, visible stickers or bold writing for boxes containing delicate or heavy items.
Examples:
- “Fragile – Glassware”
- “This Side Up”
- “Heavy – Two People Lift”
This helps movers know which boxes need extra care or team handling to avoid accidents.
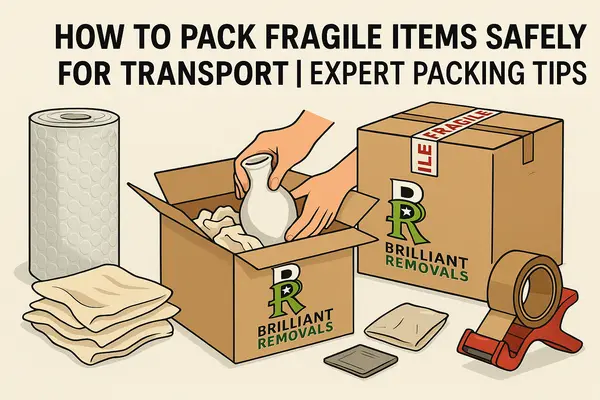
Relevant Articles:
How to Pack Fragile Items Safely for Transport
Highlight Priority Boxes
On moving day, you’ll want certain boxes first — kitchen essentials, toiletries, bedding, etc.
Label these boxes with:
- “Open First”
- “Essentials Box”
- “Day 1 Items”
Keep these near the front of the van or separate from the rest for easy access upon arrival.
Combine Written Labels with Digital Tracking
For tech-savvy movers, using apps like Sortly or MovingVan allows you to create QR-coded labels.
Simply scan a box to view its contents, room, and photo — no need to open it.
This is ideal for large moves or when placing some boxes in long-term storage.
Choose the Right Labelling Tools
To achieve professional and durable labels, use:
- Waterproof permanent markers
- Pre-printed moving labels or stickers
- Coloured duct tape
- Label printer (optional for QR codes)
Avoid small handwriting or thin markers that fade easily — movers need clear visibility.
Keep Labels Consistent
Consistency avoids confusion. Choose one labelling system and stick to it across all boxes.
For instance: Always write “Room – Contents – Priority – Box No.”
Example: Bedroom – Clothes – Low – Box 4 of 25
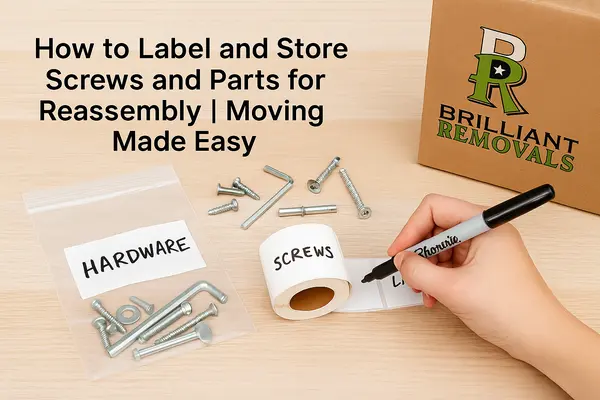
Bonus Tip: Label Furniture & Parts
Don’t limit labels to boxes!
Attach small notes to dismantled furniture parts like bed frames, screws, and table legs.
Example:
- “Bed Frame – Bedroom 2”
- “TV Stand Bolts – Living Room”
This ensures reassembly is smooth and organised.
Summary
Knowing how to label boxes for an easy unpacking process saves you countless hours and frustration.
By combining a colour-coded system, clear labels, and an inventory sheet, you’ll make your moving day smooth, organised, and stress-free.
Whether you’re relocating across town or across the UK, Brilliant Removals provides professional packing, labelling, and moving services — ensuring every box reaches its right place safely and efficiently.