How to Reassemble Beds and Wardrobes After Moving
You’ve just arrived at your new home — the boxes are everywhere, and your furniture parts are stacked neatly (hopefully!).
Now comes the part many people dread — reassembling your beds and wardrobes.
At Brilliant Removals London, we know how overwhelming this can feel. But with a little planning, the right tools, and a calm step-by-step approach, you can rebuild your furniture quickly and correctly. This guide will walk you through the process of reassembling your beds and wardrobes after a move — with pro tips and simple tricks to make your setup stress-free.
Before You Start: Preparation is Key
Before jumping into reassembly, take a few minutes to prepare your space and tools. A well-organised setup will make everything easier.
Checklist: Tools You’ll Need
| Tool | Purpose |
| Screwdrivers (flat & crosshead) | For most screws and brackets |
| Allen keys (hex keys) | Common for bed and wardrobe frames |
| Small wrench/spanner | For tightening bolts |
| Hammer or rubber mallet | For gentle alignment |
| Tape measure | Ensures even spacing |
| Power drill (optional) | Speeds up the process |
| Spirit level | Keeps furniture straight |
Pro Tip: Keep a soft mat or blanket on the floor to protect both the furniture and your flooring during reassembly.
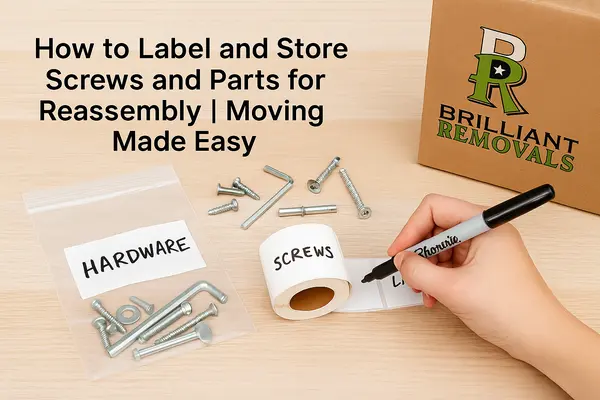
Unpack and Organise Hardware
If you followed our earlier guide on how to label and store screws and parts, you’re already ahead.
Sort Your Hardware
- Lay all parts flat on the floor.
- Open each labelled bag of screws and fittings.
- Match each set to its corresponding furniture piece (e.g., “Bed Frame Screws” or “Wardrobe Hinges”).
- Check for missing items before starting.
| Furniture Piece | Hardware Bag Label | Notes |
| Bed Frame | Bed Frame Bolts + Nuts | All 12 bolts present |
| Wardrobe | Wardrobe Hinges | Missing 1 small screw |
| Bed Slats | Slat Screws | Includes spares |
Pro Tip: If anything is missing, take one of the screws to a hardware store — they can usually match it easily.
Reassembling Beds Step-by-Step
Beds are often the easiest large furniture to rebuild, but doing it correctly ensures stability and longevity.
Step 1: Identify the Main Sections
- Headboard
- Footboard
- Side rails
- Centre beam (if any)
- Slats or mattress base
Lay them flat and align them roughly where they’ll stand.
Step 2: Connect Headboard and Footboard
Attach each side rail to the headboard and footboard using the original brackets and screws.
If you have a metal or divan-style bed, check that corner joints are fully seated before tightening bolts.
Step 3: Insert the Centre Support (if applicable)
Most double, king, or super-king beds include a centre beam for support.
- Align it in the middle.
- Secure it with screws or bolts at both ends.
Pro Tip: Use a spirit level to make sure your bed is even. A tilted bed can squeak or damage the frame over time.
Step 4: Add the Slats
Whether wooden or metal, slats should be spaced evenly across the bed frame.
- If slats are individual: align them by eye or measure spacing with a ruler.
- If slats are on a roll: attach at each end and smooth across.
Step 5: Tighten Everything
Once the structure looks good:
- Go around and tighten all bolts and screws firmly (but don’t over-tighten).
- Shake the frame gently — it should feel solid with no wobble.
Your bed is now ready for the mattress!
Reassembling Wardrobes Step-by-Step
Wardrobes can be trickier — especially if they’re large or modular. Take it slow and assemble in the right order.
Step 1: Lay Out the Panels
Identify:
- Base panel
- Side panels (left/right)
- Back panel(s)
- Top panel
- Doors (if applicable)
Lay them down near their assembly position.
Pro Tip: If the wardrobe is tall, assemble it near its final location — moving a fully built wardrobe through narrow doors can be difficult.
Step 2: Assemble the Frame
- Connect the side panels to the base.
- Secure with corner bolts or cams (depending on your wardrobe type).
- Attach the top panel once the sides are upright.
| Type of Wardrobe | Assembly Tip |
| Flat-pack | Tighten halfway first, then fully once upright |
| Sliding-door | Keep runners aligned and level |
| Hinged-door | Align doors only after full frame assembly |
Step 3: Add the Back Panel
Most wardrobes have thin wooden or MDF back panels.
- Align the edges carefully.
- Nail or screw along the perimeter.
- Use a level to keep it square — this helps with door alignment later.
Pro Tip: An uneven back panel causes doors not to close properly — double-check before securing it completely.
Step 4: Install Rails and Shelves
Insert hanging rails, shelf supports, or dividers before closing the wardrobe.
Ensure everything fits snugly and test weight capacity if adjustable.
Step 5: Fit the Doors
Attach the doors using labelled hinges.
Adjust door alignment with a screwdriver — most modern hinges have 3-way adjustment screws (height, depth, angle).
| Problem | Fix |
| Door not closing | Adjust depth screw |
| Door uneven | Adjust height screw |
| Door sticks | Realign base or hinges |
Step 6: Finishing Touches
- Check that handles, knobs, and hinges are tight.
- Wipe down dust from panels.
- Apply furniture pads to prevent scratches on flooring.
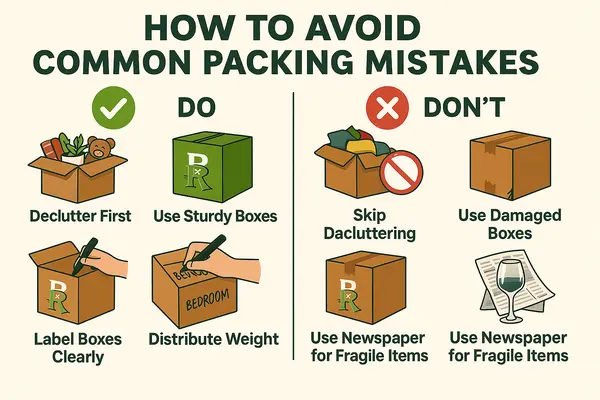
Common Mistakes to Avoid
| Mistake | Result | Solution |
| Mixing screws and bolts | Missing hardware | Label before moving |
| Over-tightening bolts | Damage to furniture | Tighten just until firm |
| Skipping the centre beam | Sagging mattress | Always install supports |
| Assembling on carpet | Misalignment | Build on flat surface |
| Ignoring door alignment | Wonky wardrobe | Adjust hinges properly |
Professional Help for Reassembly
If this all sounds time-consuming, you’re not alone.
Reassembling large furniture takes patience, tools, and experience.
That’s where Brilliant Removals London can help.
We offer:
- Professional disassembly and reassembly services
- Furniture protection and setup in your new home
- Skilled movers who ensure all parts are fitted safely
- Transparent pricing and timely service
Whether it’s a single bed or a multi-door wardrobe, our team ensures your furniture is back in place — quickly and perfectly.
After Assembly: Quick Maintenance Tips
Tighten screws after 2–3 weeks of use — wood can settle.
Avoid dragging assembled wardrobes.
Add felt pads under furniture legs to protect floors.
Keep your Allen keys or toolkit handy for future adjustments.
Summary
Reassembling your beds and wardrobes doesn’t have to be stressful.
With careful planning, proper tools, and attention to detail, you’ll have your furniture standing strong in no time.
And if you’d rather skip the hassle, let Brilliant Removals London handle it — we’ve done thousands of moves and reassemblies across London, always ensuring your furniture is safe, secure, and ready for use.