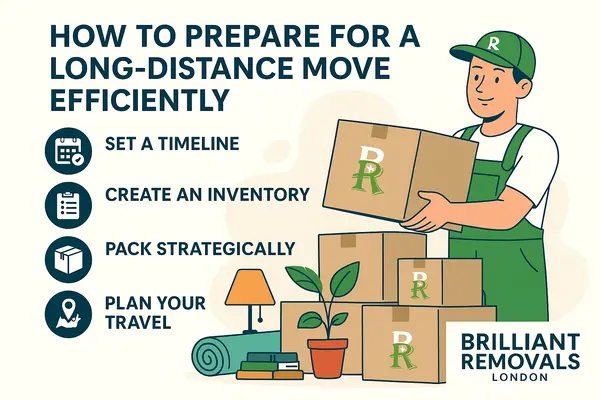
How to Organise Packing Room by Room
Packing an entire home can feel overwhelming — but when you approach it room by room, it becomes manageable, efficient, and far less stressful. Whether you’re moving within London or across the UK, a structured packing strategy ensures nothing gets left behind or damaged.
In this guide, we’ll walk you through how to pack each room in your house, what materials to use, and professional tips to make the process smooth from start to finish.
Why Room-by-Room Packing Works Best
When you pack systematically, you:
- Avoid mixing items from different rooms.
- Save time during unpacking.
- Reduce stress on moving day.
- Keep inventory tracking simple.
Think of each room as a mini project with its own timeline, packing supplies, and checklist.
Gather All Packing Essentials Before You Start
Before tackling each room, stock up on the right supplies. Running out of tape mid-pack is one of the most common (and annoying) mistakes movers make.
Essential Supplies Checklist
| Item | Purpose |
| Cardboard boxes (small, medium, large) | Different weights and sizes of household items |
| Bubble wrap | Protect fragile goods |
| Packing paper | Cushioning and wrapping |
| Packing tape | Secure box closures |
| Labels or color stickers | Identify room destination |
| Permanent markers | Clear labeling |
| Plastic bags or zip locks | Small screws, cords, or bolts |
| Stretch wrap | Furniture and fabric protection |
Pro Tip:
Use colour-coded labels for each room — for example, blue for the kitchen, green for the bedroom, red for the living room, etc. This makes unloading at your new home seamless.
Start with the Least-Used Rooms
When organising your packing schedule, always begin with rooms you use least, such as:
- Guest rooms
- Storage areas
- Garage or attic
This allows you to start early without disrupting your daily life.
Room-by-Room Packing Guide
Below is a detailed breakdown of how to pack each room efficiently.
Living Room
The living room usually contains a mix of fragile décor, electronics, and furniture, requiring careful handling.
Step-by-Step Tips:
- Remove wall art, frames, and mirrors first.
- Wrap each decorative piece in bubble wrap.
- Use TV or electronics’ original boxes if available.
- Coil cables neatly and label them.
- Cover sofas and furniture with stretch wrap or blankets.
- Pack books flat to avoid bending.
Table: Living Room Packing Summary
| Item | Material Used | Special Instruction |
| TV & Electronics | Anti-static wrap | Label cables individually |
| Picture Frames | Bubble wrap | Stack vertically |
| Lamps | Wrap base & shade separately | Use soft padding |
| Sofas | Stretch wrap | Avoid moisture exposure |
| Books | Small boxes | Don’t overload |
Kitchen
The kitchen is one of the hardest rooms to pack because it’s full of fragile items and irregular shapes.
Checklist for Kitchen Packing:
- Wrap plates individually and stack vertically.
- Use cardboard dividers for glassware.
- Empty and defrost the fridge 24 hours before moving.
- Seal spices and liquids in plastic bags to prevent leaks.
- Label boxes as “Fragile – Kitchen.”
Kitchen Essentials Table
| Item | Packing Method | Extra Tip |
| Plates | Wrap in paper, stand vertically | Use dish boxes |
| Glasses | Use dividers | Fill gaps with paper |
| Cutlery | Bundle by type | Wrap in cloth or towel |
| Small Appliances | Original box if possible | Label cords |
| Pantry Items | Seal tightly | Discard expired goods |
Bedroom
Bedrooms are easier to pack but can take time due to clothing, décor, and furniture.
Bedroom Packing Strategy:
- Start with out-of-season clothing.
- Use wardrobe boxes for hanging clothes.
- Fold and pack soft items like linens and duvets in vacuum bags.
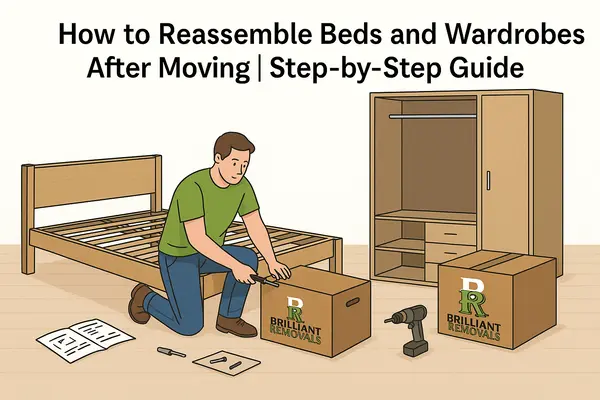
- Dismantle furniture (beds, dressers) early.
- Keep essentials (bedding, nightwear) separate for your first night.
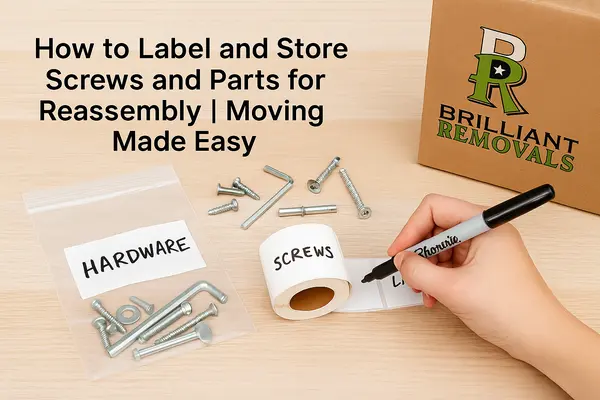
Tip:
Store small screws and bolts from disassembled furniture in labelled zip bags taped to the main piece.
Bathroom
The bathroom may be small, but it contains liquids and breakables.
Steps for Bathroom Packing:
- Discard expired products.
- Seal liquids tightly and wrap in plastic film.
- Pack toiletries together in leak-proof bags.
- Use small boxes for medicines and label them clearly.
Bathroom Essentials Table
| Category | Example Items | Packing Notes |
| Toiletries | Shampoo, lotions | Seal lids tightly |
| Medicines | First aid, prescriptions | Label “Essentials” |
| Towels | Fold flat | Use as padding for fragile items |
| Mirrors | Small vanity mirrors | Wrap in bubble wrap |
Home Office or Study
If you work from home, pack your electronics and documents carefully.
Tips:
- Back up digital data to the cloud.
- Use document folders for papers.
- Wrap electronics in anti-static wrap.
- Label cables and accessories.
Important:
Keep passports, certificates, and important paperwork in a folder you carry personally on moving day.
Garage and Storage Areas
These areas tend to have tools, paints, and random household items.
Checklist:
- Label boxes as “Garage – Tools” or “Outdoor Equipment.”
- Group tools by size and wrap sharp edges.
- Dispose of flammable materials safely.
- Use small boxes for heavy items.
Create a Room-by-Room Inventory
Once everything is packed, create a simple packing inventory sheet to track your items. Below is an example:
| Room | Number of Boxes | Fragile Items? (Y/N) | Notes |
| Living Room | 6 | Y | TV, artwork |
| Kitchen | 8 | Y | Plates, glasses |
| Bedroom | 5 | N | Clothing |
| Bathroom | 3 | Y | Toiletries |
| Office | 4 | Y | Laptop, printer |
This list will make unpacking and loss prevention much easier later.
Label Boxes Clearly
Every box should include:
- Room name
- Brief description of contents
- Handling instructions (e.g., Fragile / Heavy / This Side Up)
Use large markers or printed labels for visibility. Labeling all four sides helps movers identify them quickly no matter how the box is stacked.
Relevant Articles:
How to Label Boxes for an Easy Unpacking Process
Keep an Essentials Box for Each Room
Your essentials box should include items you’ll need within the first 24 hours after moving.
Examples:
- Bedroom: Bedsheets, pyjamas, charger
- Kitchen: Kettle, utensils, dish towel
- Bathroom: Towels, toiletries, first-aid
- Living Room: Remote, cables, snacks
Pack these last and load them last so they’re unloaded first at your new home.
Schedule a Room-by-Room Packing Timeline
| Week Before Move | Task |
| 4 Weeks Before | Start with spare rooms and garage |
| 3 Weeks Before | Pack living room décor and books |
| 2 Weeks Before | Focus on bedrooms and office |
| 1 Week Before | Tackle the kitchen and bathroom |
| 2 Days Before | Pack essentials and fragile items |
| Moving Day | Check inventory and load essentials last |
A timeline like this ensures a stress-free moving week and minimises last-minute chaos.
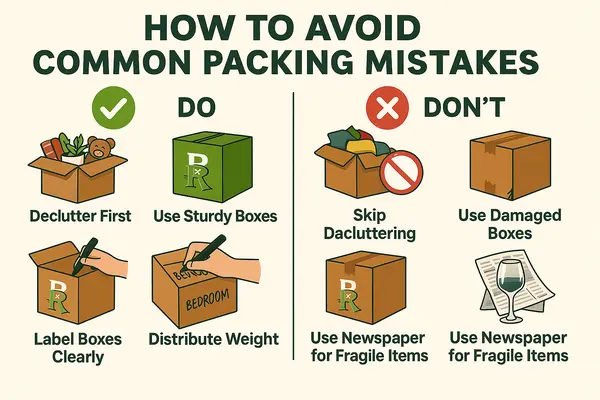
Bonus Tips from Professional Movers
- Use smaller boxes for heavier items like books and plates.
- Keep fragile items separate and label them clearly.
- Disassemble large furniture early to save time on moving day.
- Take photos of wiring setups (TV, computers) before disconnecting.
- Ask your moving company about packing assistance or materials.
Consider Professional Help
If you’re short on time or handling delicate items, professional movers like Brilliant Removals offer:
- Full packing and unpacking services
- Room-by-room inventory tracking
- Eco-friendly materials
- Furniture disassembly and reassembly
Professional packing ensures your belongings are secure, organised, and handled with care, leaving you free to focus on your new home.
Summary
Organising packing room by room transforms your moving process from chaos to clarity. With the right materials, clear labeling, and a structured approach, you’ll not only protect your belongings but also make unpacking in your new home much easier.
If you’re looking for professional home packing and removal services in London, Brilliant Removals provides comprehensive, stress-free moving solutions designed to fit your schedule and budget.