How to Label and Store Screws and Parts
If you’ve ever tried reassembling furniture after a move and realised you’ve lost a few screws, you know the frustration.
Small parts like bolts, hinges, and brackets are easy to misplace — but without them, your furniture won’t stand a chance of going back together.
At Brilliant Removals London, we know that staying organised during packing is the key to a stress-free move.
This guide walks you through simple and effective ways to label, store, and track screws and fittings so your reassembly is smooth and efficient.
Why Labelling and Storage Matter
Even the most careful mover can lose small components. Furniture fittings are tiny, often identical, and get mixed up fast.
Here’s why proper labelling matters:
- Prevents losing vital screws or bolts.
- Saves time during reassembly.
- Keeps parts from different furniture items separate.
- Ensures safety — using the wrong screws can weaken joints.
Pro Tip: Start organising as you disassemble each piece of furniture — not afterwards. It’s easier to track everything while it’s still fresh.
What You’ll Need
Gather these simple tools and supplies before you begin:
| Item | Purpose |
| Zip-lock bags (various sizes) | Store screws, bolts, and fittings |
| Masking tape or labels | Write furniture names and part descriptions |
| Permanent marker | For clear labelling |
| Small plastic box or tool organiser | Keeps all bags together |
| Notebook or checklist | Record furniture and hardware details |
| Rubber bands or cable ties | Bundle related hardware |
| Envelopes or mini containers | For delicate or specific fittings |
Keep everything in a single labelled “Hardware Box” — this should travel with you, not inside the moving van.
How to Label and Store Screws Properly
Step 1: Disassemble One Furniture Piece at a Time
Don’t mix hardware from different items. Take apart and bag one piece completely before moving to the next.
Example: Finish with the bed frame before starting the wardrobe.
Relevant Articles:
Handle Complex Furniture Disassembly Safely
Step 2: Use Zip-Lock Bags or Small Containers
Zip-lock bags are perfect for screws and bolts — clear, resealable, and easy to label.
| Type of Furniture | Recommended Bag Size | Example Label |
| Bed frame | Medium | “King Bed – Bolts + Nuts” |
| Wardrobe | Large | “Wardrobe – Hinges + Door Screws” |
| Dining table | Small | “Dining Table – Leg Screws” |
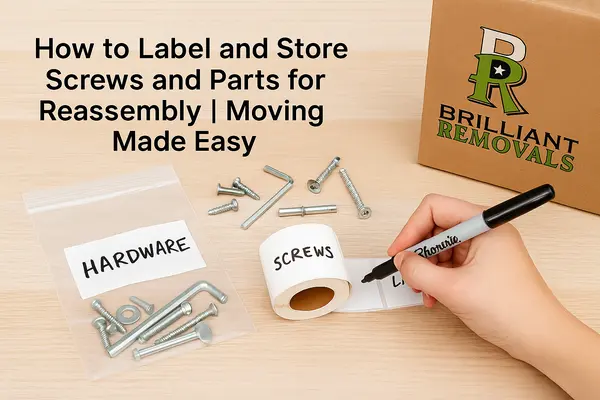
Step 3: Label Bags Clearly
Write the furniture name and part type directly on the bag or on masking tape.
Include extra notes like “Top shelf hinges” or “Left door bolts”.
Example Label Format:
WARDROBE – Hinges + Screws (Left Door)
Qty: 8 screws, 2 brackets
Pro Tip: Use a black permanent marker — pens or pencils often fade or smudge during transit.
Step 4: Attach the Bag to the Furniture
Once sealed and labelled, tape or tie the bag to the corresponding furniture piece.
- Use masking tape (won’t damage surfaces).
- For sofas, stick the bag underneath.
- For beds, tape to the frame or slats.
- For wardrobes, place inside one of the drawers.
That way, all fittings stay with the right furniture during the move.
Step 5: Keep a Hardware Inventory
Use a simple notebook, or create a table like this to track each item’s hardware bag:
| Furniture Item | Labelled As | Bag Location | Notes |
| Bed Frame | Bed Frame Screws | Taped to frame | All bolts present |
| Wardrobe | Wardrobe Hinges | Drawer 1 | Includes extra screws |
| Desk | Desk Screws | Hardware Box | Missing one washer |
You can also take photos of each bag with the item name — it’s an easy digital backup.
Step 6: Group Bags Together
After disassembling everything, gather all your small labelled bags into one box or organiser.
| Storage Method | Pros | Best For |
| Plastic toolbox | Hard shell, reusable | Long-term organisation |
| Small plastic bin | Easy to carry | Multi-room moves |
| Shoe box | Simple, budget-friendly | Local moves |
| Drawstring bag | Compact | Few furniture items |
Line your box with soft cloth or paper to prevent noise or accidental punctures from screws.
Colour-Coding System (Optional but Smart)
Colour-coding adds an extra layer of organisation — especially for larger moves.
| Colour | Room |
| Blue | Living Room |
| Green | Bedroom |
| Yellow | Kitchen |
| Red | Office |
| Orange | Kids’ Room |
Use coloured stickers or labels on both the bag and the furniture piece for quick matching later.
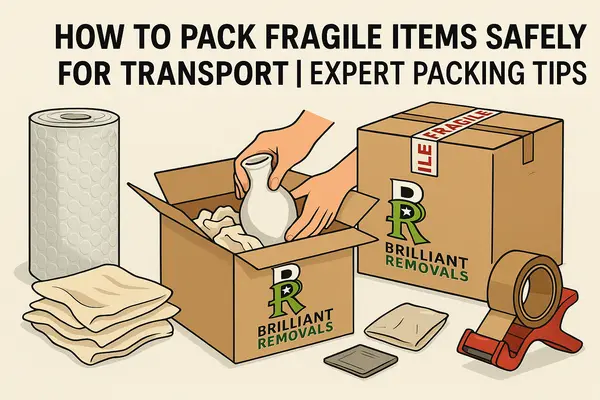
Bonus Tips for Safe Hardware Storage
- Keep bags airtight to avoid moisture or rust.
- Separate sharp or pointed fittings in thicker plastic.
- Avoid taping directly to painted surfaces — use masking tape only.
- Add silica gel packets in the hardware box to prevent dampness.
- Don’t overfill zip-lock bags — use one per item instead of one per room.
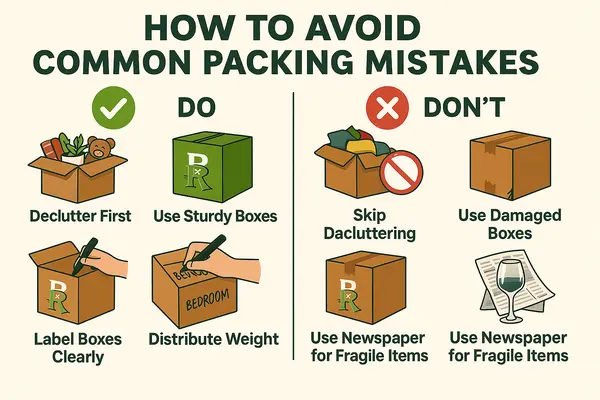
What Not to Do
| Mistake | Result | Fix |
| Mixing all screws together | Confusing reassembly | Use separate bags |
| Forgetting to label | Time wasted identifying parts | Label immediately |
| Using paper envelopes only | Can tear or spill | Use zip-lock plastic |
| Leaving bags in moving van | Risk of loss | Keep hardware box with you |
| Skipping photos | Difficult reassembly | Snap each item before packing |
Reassembling After the Move
When you arrive at your new home:
- Locate your Hardware Box first.
- Match labels and colours to the furniture.
- Use your photos or inventory list as a guide.
- Reassemble in order — large furniture first, then smaller pieces.
Pro Tip: Keep a small toolkit handy (screwdriver, Allen keys, wrench). You’ll need it before unpacking most boxes.
Relevant Articles:
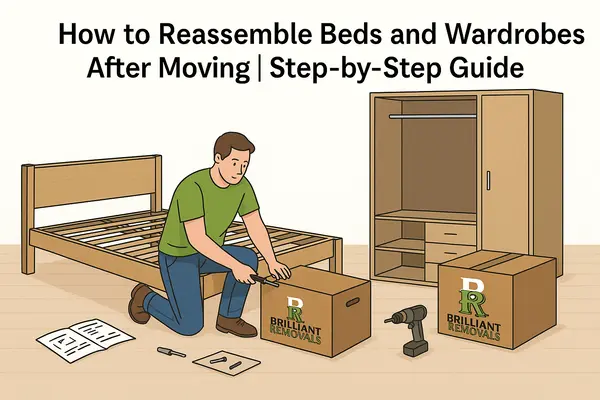
Reassemble Beds and Wardrobes After Moving
Brilliant Removals’ Professional Assistance
If keeping track of parts sounds like a hassle, Brilliant Removals London can help.
Our trained team handles:
- Professional disassembly and reassembly
- Secure labelling and packing of hardware
- Furniture protection and transport
- Organised setup in your new home
We make moving easy, efficient, and organised — so you can settle in without the stress of missing parts or mismatched screws.
Summary
Labelling and storing screws may seem like a small step, but it saves hours of frustration later.
By following a system — using zip-lock bags, clear labels, and a hardware inventory — you’ll make your reassembly quick, smooth, and stress-free.
With Brilliant Removals London, every detail is handled with precision — from packing and dismantling to transport and setup.
Because a truly successful move starts with smart organisation.