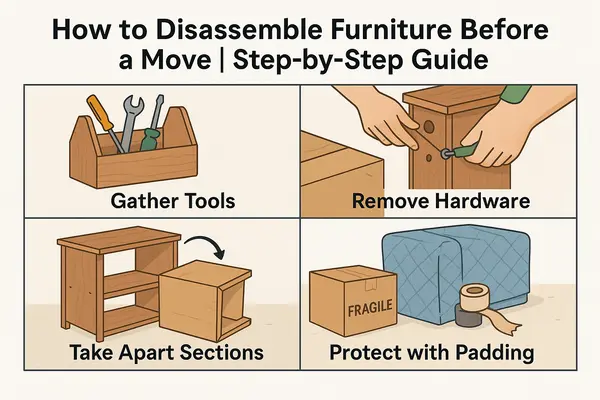
How to Disassemble Furniture Before a Move
When it comes to moving homes, bulky furniture can be your biggest challenge. Sofas that don’t fit through doors, wardrobes too tall for hallways, and tables too wide for staircases — we’ve seen it all!
That’s why disassembling furniture before moving day is a smart strategy. It makes transport easier, reduces the risk of damage, and helps you maximise van space. Whether you’re handling the move yourself or working with professionals like Brilliant Removals London, understanding the right way to dismantle your furniture can save you time, money, and stress.
Why Disassembling Furniture Matters
Many people try to move furniture in one piece — only to find it doesn’t fit through doors or damages walls.
Here’s why you should take it apart:
- Easier lifting: Lighter, smaller parts reduce physical strain.
- Better protection: Less chance of scratches or breakage.
- Efficient loading: Disassembled furniture stacks neatly inside the van.
- Space-saving: Maximises room for boxes and smaller items.
Pro Tip:
Only disassemble what’s necessary — some furniture (like modular sofas) is designed to move in sections already.
Relevant Articles:
How to Handle Complex Furniture Disassembly Safely
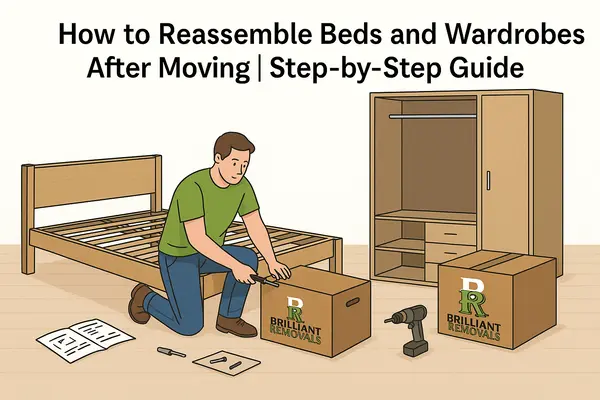
How to Reassemble Beds and Wardrobes After Moving
Tools You’ll Need
Before you start, gather all the tools and supplies needed for safe disassembly.
| Tool / Item | Purpose |
| Screwdriver set | For screws and bolts |
| Allen keys | Common for IKEA-style furniture |
| Adjustable wrench | For bolts and metal joints |
| Zip-lock bags | Store screws and fittings |
| Labels / masking tape | To label pieces |
| Moving blankets | Protect large surfaces |
| Power drill (optional) | Speeds up screw removal |
| Plastic wrap | Bundle loose parts |
| Marker pen | Identify furniture pieces |
Keep tools in one small box labelled “Assembly Kit” — you’ll need it first at your new home.
Check Manufacturer Instructions
If your furniture came with an assembly manual, dig it out. The same guide that helped you put it together can now show you how to safely take it apart.
- Search online if you’ve misplaced the manual — most major furniture brands (like IKEA, Argos, and John Lewis) have downloadable PDFs.
- Follow the reverse order of assembly steps.
Make a Disassembly Plan
Don’t rush. Start with one room at a time and make a checklist of furniture that needs disassembling.
Example Checklist
| Room | Furniture to Disassemble | Notes |
| Bedroom | Bed frame, wardrobe | Remove drawers and doors |
| Living Room | Dining table, sectional sofa | Keep screws labelled |
| Office | Desk, chair | Keep cables tied separately |
| Kids’ Room | Cot, bookshelves | Store small parts safely |
Tip: Snap photos before disassembling — they’ll guide you during reassembly later.
Empty Furniture First
Never start dismantling a full wardrobe or table. Remove everything inside first:
- Clean surfaces to prevent dirt scratches during reassembly.
- Take out clothes, shelves, and drawers.
- Remove glass panels and store them separately.
Step-by-Step: How to Disassemble Common Furniture
A. Beds and Bed Frames
- Strip all bedding and store in labelled bags.
- Remove mattress and wrap in a mattress protector or plastic cover.
- Unscrew headboard and footboard.
- Detach side rails using an Allen key or wrench.
- Bundle slats with tape and label them clearly.
- Place screws in a labelled bag – e.g., “King Bed Frame Bolts.”
Pro Tip: Tape the bag of screws directly to the bed frame to avoid losing them.
B. Wardrobes
- Empty contents and remove hanging rods and shelves.
- Take off doors by unscrewing hinges.
- Label each door and shelf (Left, Right, Top, Bottom).
- If sliding doors, lift carefully to avoid bending tracks.
- Wrap doors in moving blankets or cardboard sheets.
C. Sofas and Sectionals
- Remove cushions and pack them in large plastic bags.
- Detach legs, armrests, and corner sections.
- Label each piece.
- Wrap the frame in moving blankets or stretch film.
Pro Tip: For recliners, locate the release levers underneath before separating sections — never force them apart.
D. Dining Tables
- Remove table leaves if extendable.
- Turn the table upside down on a blanket.
- Unscrew each leg — label them according to position (e.g., “Front Left”).
- Wrap tabletop and legs separately.
- Keep screws and fittings together.
E. Desks and Office Furniture
- Unplug all electronics and tie cables with zip ties.
- Remove drawers and hardware.
- Detach side panels and legs.
- Wrap delicate surfaces with bubble wrap or foam.
Label Everything Clearly
Organisation is key. Misplaced screws or unlabelled parts can turn reassembly into a puzzle.
| What to Label | Example |
| Furniture name | “Living Room Coffee Table” |
| Part details | “Drawer 1 of 4” |
| Hardware | “Wardrobe – Hinges + Screws” |
Use colour-coded stickers for each room — this helps movers place items correctly at your new home.
Relevant Articles:
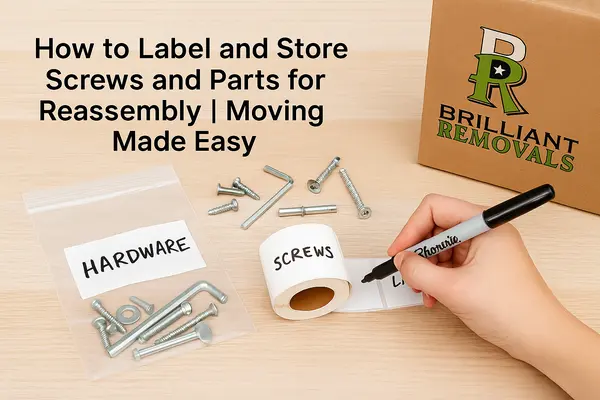
How to Label and Store Screws and Parts for Reassembly
How to Label Boxes for an Easy Unpacking Process
Protect and Wrap Components
Proper wrapping prevents damage and dust during transport.
- Use moving blankets for wooden surfaces.
- Wrap glass or mirrors with bubble wrap and label “FRAGILE.”
- Secure bundles with stretch wrap — never tape directly to furniture.
| Material | Best Use |
| Bubble Wrap | Fragile parts & glass |
| Furniture Blankets | Large wooden or metal frames |
| Stretch Film | Bundling slats, poles, or legs |
| Cardboard Sheets | Between flat surfaces |
| Foam Edge Protectors | Corners and table edges |
Relevant Articles:
How to Pack Fragile Items Safely for Transport
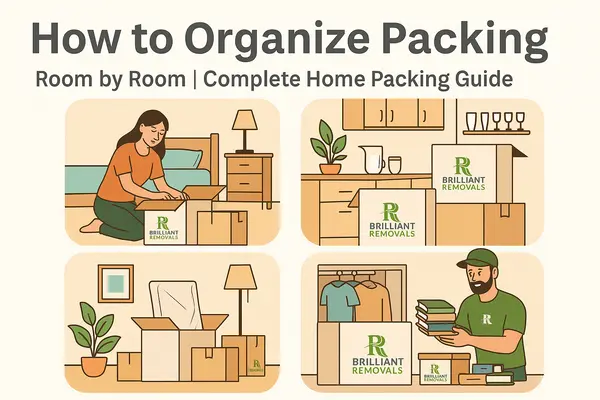
How to Organise Packing Room by Room
Store Hardware Safely
Small parts are easy to lose during the chaos of moving day.
Best Practices
- Keep that box with you on moving day — not in the van.
- Use zip-lock bags for each furniture item.
- Label them with furniture names.
- Store all bags in one “Hardware Box.”
Keep Similar Items Together
Group furniture parts from the same room together. For example:
- Bedroom furniture in one stack.
- Office furniture in another.
This makes reassembly faster and prevents confusion later.
Seek Help for Heavy or Complex Furniture
Some items — like large wardrobes, pianos, or antique furniture — require professional movers.
At Brilliant Removals London, our team is trained to handle:
- Delicate disassembly of valuable or heavy furniture
- Use of specialised equipment for safe lifting
- On-site reassembly at your new home
Pro Tip: Always let movers know in advance which furniture requires dismantling so they can bring the right tools.
Common Mistakes to Avoid
| Mistake | Why It’s a Problem | Solution |
| Rushing the process | Causes damage or lost parts | Allocate time and follow a checklist |
| Mixing hardware | Confuses reassembly | Use separate labelled bags |
| Forgetting to label | Slows down unpacking | Label everything clearly |
| Not protecting pieces | Scratches or dents | Wrap each part individually |
| Using wrong tools | Strips screws or damages fittings | Use correct-size screwdrivers & Allen keys |
Reassembling After the Move
Once you arrive at your new home:
- Unpack the hardware box first.
- Refer to your photos and labels.
- Reassemble larger items before unpacking boxes.
- Tighten screws firmly but avoid over-torquing to prevent cracks.
Pro Tip: Keep a power drill handy — it will save time for reassembly.
Hire Professionals for Peace of Mind
If you’d rather skip the hassle, Brilliant Removals London offers:
- Full packing and dismantling services
- Secure transport and reassembly
- Eco-friendly materials on request
We ensure your furniture is moved safely, efficiently, and without stress.
Summary
Disassembling furniture before a move may seem tedious, but it pays off in convenience and safety. With proper tools, labelling, and protection, you can make sure every item arrives intact and ready for reassembly.
Whether you’re moving across London or beyond, Brilliant Removals is here to help — offering professional packing, moving, and dismantling services to make your relocation seamless from start to finish.